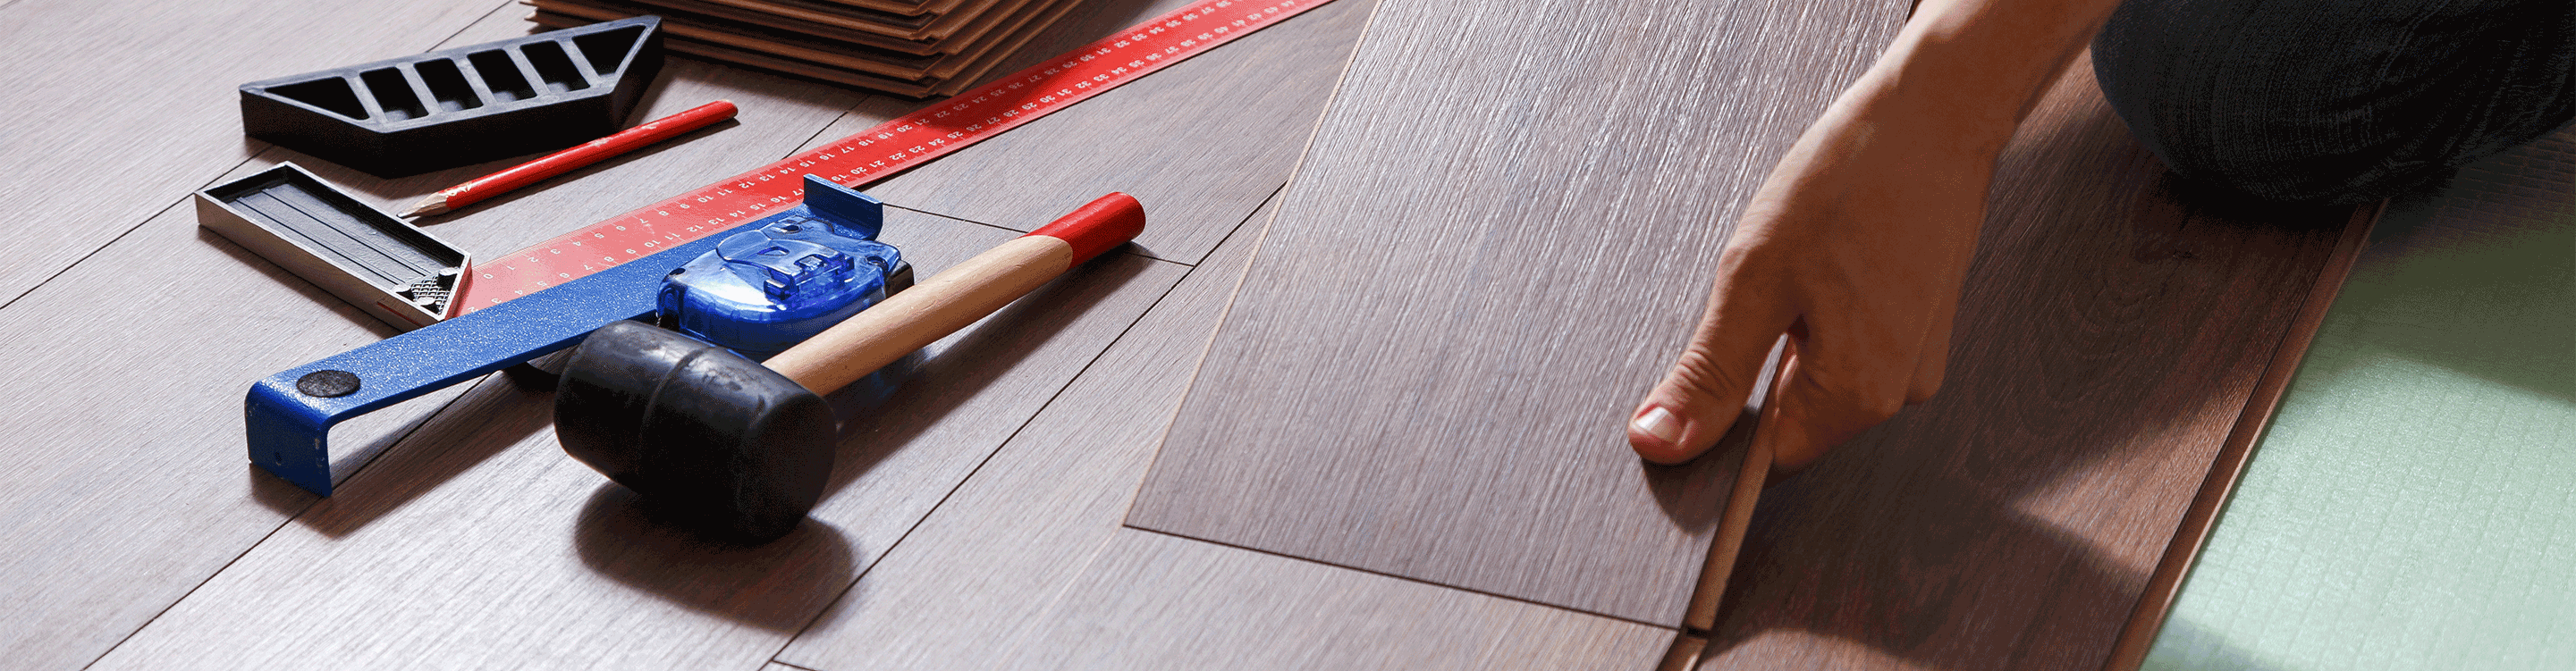
Getting your home ready before the installation crew arrives is one of the most practical things you can do to protect your investment. A well-prepared space lets installers work faster, reduces the risk of damage to belongings, and gives the new floor the best possible start.
See our flooring installation hub for the full installation guide.
Getting your home ready for a new floor installation doesn't have to be stressful. Follow these 12 steps, and you'll be set up for a smooth, efficient installation day.
Before your installation team arrives, go through every room that will be worked on and remove anything fragile or valuable. This includes artwork, decorative items, lamps, and any objects sitting on furniture that may be moved during the job.
When you are setting up an installation estimate with your hired professionals, it's very wise to inquire about an all-inclusive project quote. This means that the quoted price of installation would include services such as moving large furniture and appliances. Also, if your home's subfloor needs to be additionally prepared or altogether removed, this may need to be performed prior to your installation. Don't get caught on your installation date with none of these tasks completed.
If your new flooring is taking place in rooms with gas appliances and larger electronics, possibly kitchens or laundry rooms, make sure that they are either disconnected or arranged to be so. Gas appliance disconnection should be handled by a qualified technician rather than as a homeowner task. If you have any doubts about whether you are disconnecting gas appliances safely and correctly, arrange for this step to be carried out by professionals. Otherwise, your installers will quickly point out another task for you to complete when installation day commences.
Consider any floor height changes that may need to be accounted for when installing new flooring. New flooring can raise the floor height enough that doors no longer open or close smoothly. Discuss this with your installer before the job begins so that any necessary trimming or adjustments are planned ahead of time.
Any rooms or closets that fall within the installation footprint will need to be cleared. This means removing items from closet floors, storage areas, and any other spaces that will be accessed or walked through during installation.
No matter what type of flooring you are preparing for, you will want to minimize allergens, dust, mold, and mildew on the subfloor beforehand. This will ensure that the new floor does not cover up old problems and will actually improve the air quality and health of your home.
This may seem like an extreme consideration, but it is, in fact, very standard. Each flooring type will have recommended temperature conditions on the box or in the directions included inside. It's recommended that most flooring products become acclimated to a room for one or two days before installation. Some manufacturers may have specific recommendations that a room maintain a minimum temperature before, during, or after installation.
Professional installers work more efficiently with doors removed from the work area. Removing interior doors in advance prevents them from being scratched or damaged during the installation process. Store doors flat with a soft blanket between each one to avoid surface damage.
Baseboards and door trim typically need to be removed before new flooring is installed to allow for a clean, finished edge at the perimeter of each room. Depending on baseboard height, removing just the shoe molding at the base may be sufficient. Discuss with your installer what is expected as part of the project scope so there are no surprises on installation day.
The subfloor must be flat, level, dry, and structurally sound before any new flooring goes down. Subfloor conditions directly affect the quality and longevity of the finished installation, and an improperly prepared subfloor can void manufacturer warranties. In some cases, this preparation is included in the installation quote; in others, it is a separate step. Confirm this with your installer at the estimate stage so the subfloor is in the right condition before installation day arrives.
For hardwood installations that involve sanding, and for some tile and demo work, dust can spread through HVAC systems and into rooms not being worked on. Before installation begins, confirm the dust control plan with your installer. Sealing off adjacent rooms with plastic sheeting is standard practice for dusty jobs. Knowing the plan in advance prevents surprises and protects furnishings in unaffected areas.
Make arrangements for pets to be in a secure area away from the installation zone, or out of the home entirely, on installation day. Installation equipment, unfamiliar workers, and open doors create conditions that can cause anxiety for animals and create safety risks. Keeping pets clear of the work area ensures the installation proceeds without interruption.
You have enough to stress or worry about as a homeowner, so give your flooring installation the best chance of success by properly preparing the surface. The truth is, without taking the time for these steps, you can hit a variety of unfortunate flooring horrors: uneven, peeling, or even bubbling finished floors over time. Whether you're installing hardwood, carpet, laminate, tile, or vinyl, follow these tips to best prep your space.
Ready to bring your vision to life? Explore our Flooring Installation Guide and Installation Done Well Guide for expert tips that set your project up for success. When you're ready to take the next step, schedule your free estimate today, and let's create a space you'll love for years to come.
The most important things to do before new flooring is installed are to clear the space completely (furniture, valuables, closet contents, pets), confirm the scope of the installation quote (who moves appliances, what subfloor prep is included), arrange disconnection of any gas appliances by a qualified technician, verify that the interior temperature meets manufacturer requirements, and confirm that the subfloor is flat, level, dry, and structurally sound. Use the 12-step checklist above as a complete preparation guide.
It's important to know whether or not your carpet installers will move furniture before your project. We recommend asking this question before scheduling your installation because the answer may vary. There are cases where a carpet installer will include the cost of moving furniture in your quote, and other times the installer may not include it, and it is always better to be sure to be on the same page with your flooring installer before the day of your carpet installation.
Most flooring installations for a standard room take one to three days, but the actual timeline depends on the flooring type, room size, subfloor condition, and whether any additional preparation is required. Carpet installation is typically faster than hardwood or tile. Jobs that require subfloor repairs, acclimation time, or removal of existing flooring will take longer. Your installer will be able to give you a more specific timeline once they have assessed the space.
Thank you for contacting Carpet One Floor & Home. Your local flooring expert will reach out to you regarding your inquiry.